11 Basic differences between pipe and tube

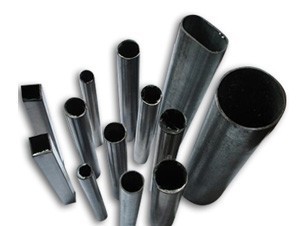
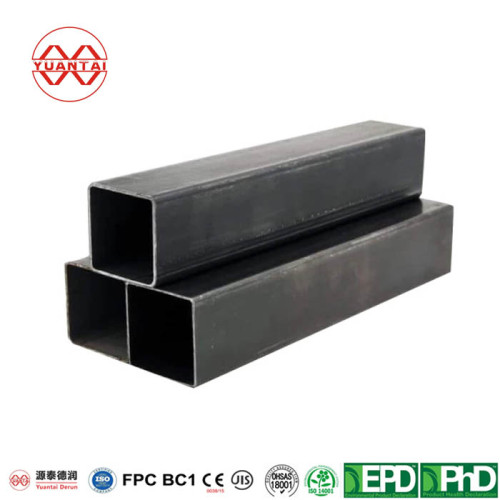
1. Shape
2. Manufacturing Process
Manufacturing Process | Pipe Manufacturing Process |
Tube Manufacturing Process
|
||
Seamless | Mandrel Mill Process | 1.Heating the Steel Billet 2. Rotary Piercing 3.Mother Hollow Formation 4.Plug Milling 5.Single Pass Inside Diameter Achievement 6.Final Sizing and Cooling 7.Cutting and Inspection 8.Packaging and Distribution |
Generally,the tube manufacturing process involves more production stages than the pipe manufacturing process.Because when the shape of the steel tube is not circular, they need to change from a circular steel tube to a square, rectangle, oval, and so on
|
|
Mannesmann Plug Mill Pipe Manufacturing Process | 1.Billet Heating 2.Pilgering or Rotary Piercing 3.Plug Milling 4.Multi-Stage Reduction 5.Stretch Reducing Mill 6.Cooling and Straightening 7.Cutting and Inspection 8.Packaging and Distribution |
|||
Forged Seamless Pipe Manufacturing Process | 1.Billet Selection and Heating 2.Forging 3.Piercing or Extrusion 4.Sizing and Reducing 5.Heat Treatment 6.Final Sizing and Inspection 7.Surface Treatment 8.Testing 9.Cutting and Packaging |
|||
Extrusion Processes | 1.Billet Selection and Heating 2.Extrusion 3.Sizing and Reducing 4.Heat Treatment 5.Straightening 6.Surface Treatment 7.Testing 8.Cutting and Final Inspection 9.Packaging and Distribution | In general, the process of manufacturing tubes encompasses a greater number of production stages compared to that of pipes. This is particularly true when the steel tube has a non-circular shape, requiring a transformation from a circular form to shapes such as square, rectangle, oval, and the like. | ||
Welded | ERW | 1.Coil Selection and Uncoiling 2.Shearing and End Preparation 3.Forming 4.High-Frequency Induction Welding 5.Seam Heat Treatment 6.Sizing 7.Cutting and Straightening 8.Non-Destructive Testing (NDT) 9.End Finishing 10.Final Inspection and Coating 11.Packaging and Distribution | ||
LSAW | 1.Plate Preparation 2.Edge Milling 3.Forming 4.Pre-Welding 5.Inside and Outside Welding 6.Ultrasonic Testing (UT) 7.Sizing 8.Hydrostatic Testing 9.End Beveling and Inspection 10.Coating and Marking 11.Final Inspection and Packaging | |||
SSAW | 1.Steel Coil Preparation 2.Edge Milling 3.Forming 4.Submerged Arc Welding (SAW) 5.Internal Welding 6.Ultrasonic Testing (UT) 7.Alignment and Sizing 8.Hydrostatic Testing 9.End Beveling and Inspection 10.Coating and Marking 11.Final Inspection and Packaging | |||
3. Size
3.1 Pipe Size

Most of Pipe size follow relevant steel pipe standards for production.For example(ASTM,API 5L)
Pipes are typically specified by their Nominal Pipe Size(NPS) and Wall Thickness(WT), and typically follow standard sizes to be compatible with fittings and related components.
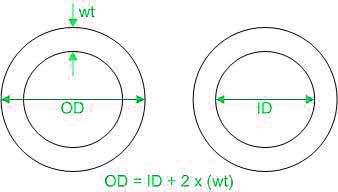
Inner diameter(ID)=Outer diameter(OD)-2*Wall Thickness
The key attributes defining a pipe include its outer diameter and wall thickness. To derive the inner diameter, subtract twice the wall thickness from the outer diameter. The inner diameter plays a crucial role in the pipe's fluid-carrying capacity. It's important to note that the nominal pipe size(NPS) may not precisely match the actual diameter; rather, it serves as a general reference point.


